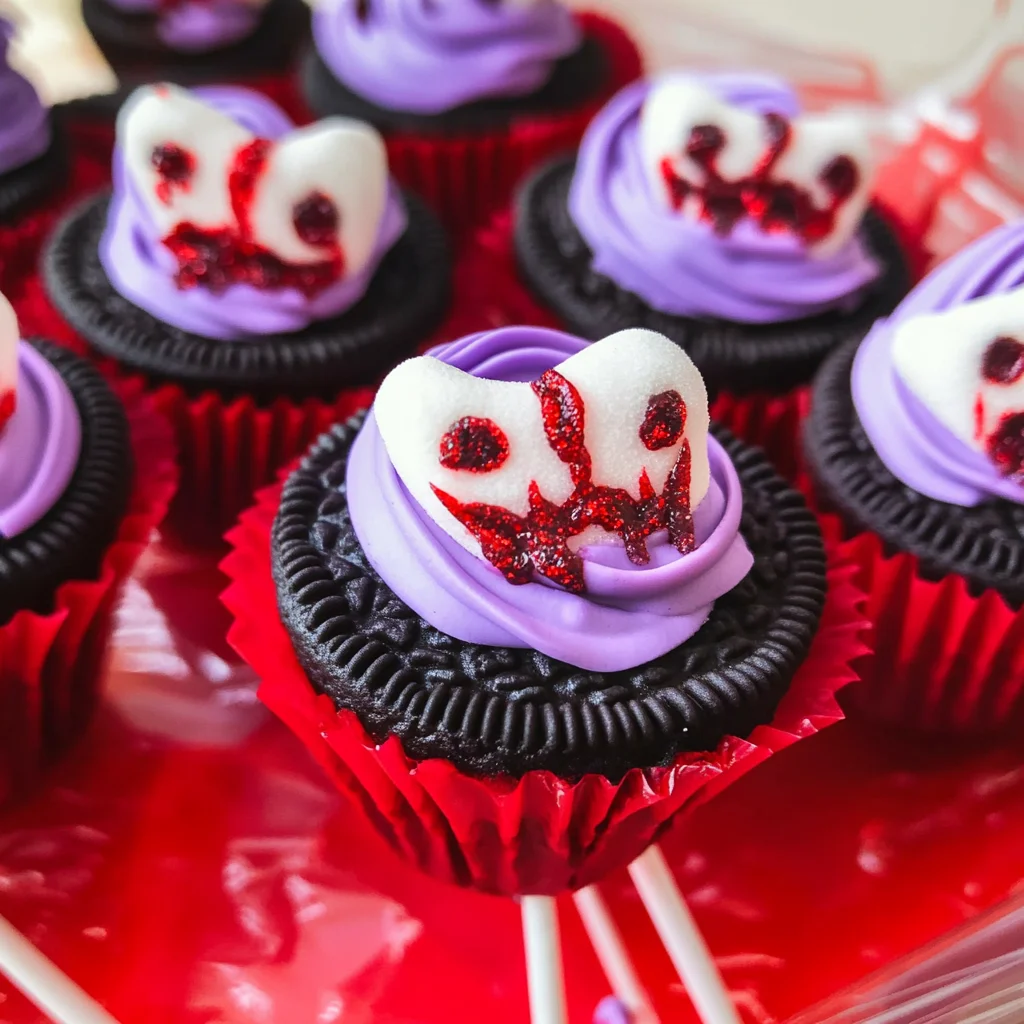
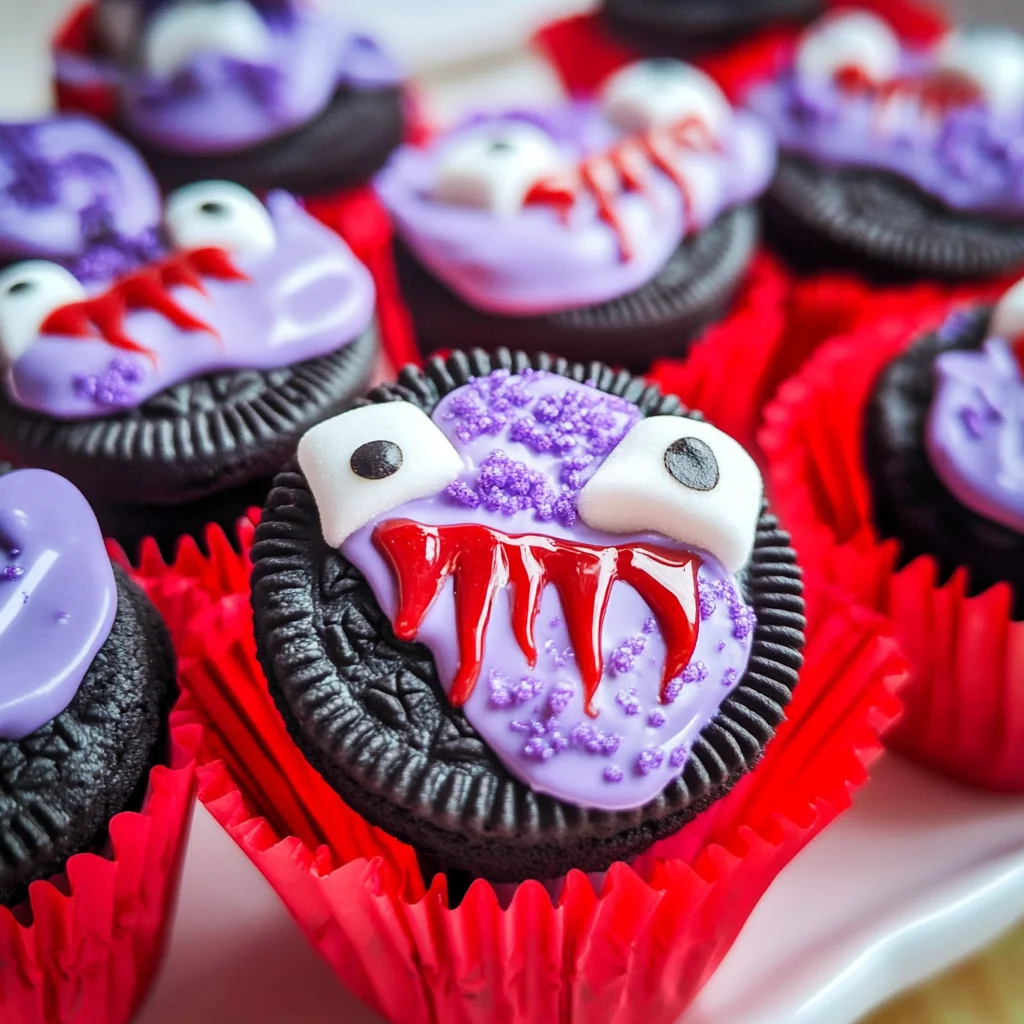
Vampire Oreo Pops
If you’re looking for a fun and festive treat this Halloween, you’ve stumbled upon the perfect recipe: Vampire Oreo Pops! These delightful little desserts are not just spooky in appearance but also incredibly easy to whip up. They make a great addition to any Halloween party or family gathering, and I promise they’ll be a hit with both kids and adults alike. The best part? You can get creative with colors and decorations, making these pops a true canvas for your imagination!
What makes these Vampire Oreo Pops particularly special is how simple they are to make. With just a handful of ingredients, you’ll have an adorable treat that’s perfect for sharing—or keeping all to yourself!
Why You’ll Love This Recipe
- Quick to prepare: With only 15 minutes of prep time, you can whip these up even on the busiest days!
- Family-friendly: Kids will love helping out in the kitchen, making it a fun bonding activity.
- Customizable: Get creative with colors and decorations to match your Halloween theme.
- Deliciously addictive: The combination of Oreos and candy melts is simply irresistible!
- Perfect for parties: These treats are sure to impress your guests and add a festive touch.
Ingredients You’ll Need
Making Vampire Oreo Pops requires just a few simple and wholesome ingredients that you might already have at home. Let’s gather what we need!
For the Pops
- Oreos
- Lavender candy melts (you can also use black candy melts, white candy melts, or red candy melts)
- Mini vegan marshmallows
- 1-2 teaspoons of coconut oil
- Cupcake liners: Red (purple, black, or green are great alternatives)
Variations
This recipe is wonderfully flexible! You can switch things up based on your preferences or what you have on hand. Here are some fun variation ideas:
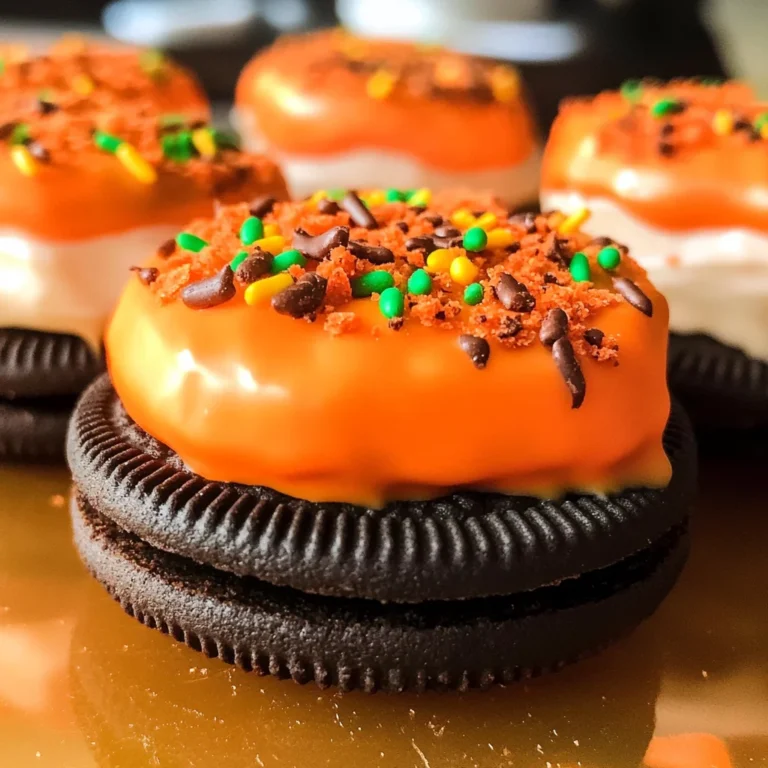
- Change the color scheme: Use different colored candy melts for various spooky themes—think orange for pumpkins or green for monsters!
- Add sprinkles: Top your Vampire Oreo Pops with colorful sprinkles for an extra festive touch.
- Make them gluten-free: Opt for gluten-free Oreos to cater to those with dietary restrictions.
- Try different fillings: Instead of Oreos, experiment with other cookies like chocolate chip or mint-flavored varieties.
How to Make Vampire Oreo Pops
Step 1: Melt the Candy Coating
Start by melting your lavender candy melts in a microwave-safe bowl. Heat them in short bursts of about 30 seconds, stirring in between until smooth. This step is crucial because it ensures that your coating will adhere perfectly to the Oreos.
Step 2: Dip the Oreos
Once your candy melts are melted and smooth, dip each Oreo into the mixture using a fork. Make sure it’s fully coated! Let any excess candy drip off before placing them on parchment paper. This creates a nice layer without being too thick.
Step 3: Add Marshmallow Fangs
While the coating is still wet, gently press mini vegan marshmallows onto one side of each Oreo. These will be your vampire fangs! Press firmly enough so they stick but be careful not to break the cookie.
Step 4: Set and Decorate
Allow the coated Oreos to set completely at room temperature. If you’re in a hurry, pop them in the fridge for about 10 minutes. Once set, feel free to drizzle additional melted candy over them for decoration or add edible eyes if you like!
Now you’re ready to enjoy these adorable Vampire Oreo Pops! They’re perfect for sharing or as an eye-catching centerpiece at your Halloween festivities. Happy baking!
Pro Tips for Making Vampire Oreo Pops
Making Vampire Oreo Pops is a fun and creative process, and with these tips, you’ll be sure to impress everyone at your Halloween gathering!
-
Choose high-quality Oreos: Using fresh, high-quality Oreos ensures your pops have the best flavor and texture. Stale cookies can affect the overall taste and satisfaction of your treats.
-
Melt candy carefully: When melting your lavender candy melts (or any color), do it in short bursts in the microwave to prevent burning. Stir between intervals until smooth; this keeps your melts the perfect consistency for dipping.
-
Use coconut oil for smoothness: Adding 1-2 teaspoons of coconut oil to your melted candy helps create a smoother coating that glides easily over the Oreos. This not only improves aesthetics but also helps the candy shell harden nicely.
-
Chill before serving: After you’ve coated the Oreos, let them chill in the fridge for about 10 minutes. This allows the chocolate to set properly, making them easier to handle and eat.
-
Get creative with presentation: Consider using themed cupcake liners or unique serving trays to enhance the Halloween vibe. A little creativity goes a long way in making your treats visually appealing.
How to Serve Vampire Oreo Pops
Presenting your Vampire Oreo Pops can turn a simple dessert into a festive centerpiece! Here are some ideas to elevate their presentation and enjoyment.
Garnishes
To add an extra flair to your pops, consider these delightful garnishes:
- Edible glitter: A sprinkle of edible glitter can transform your pops into sparkling vampire treats that catch everyone’s eye.
- Sprinkles: Halloween-themed sprinkles (like bats or ghosts) scattered on top right after dipping can add a playful touch and enhance the spooky theme.
Side Dishes
Pairing these adorable Vampire Oreo Pops with complementary side dishes will make for a well-rounded dessert table. Here are some suggestions:
- Pumpkin Spice Cookies: These soft cookies bring in the flavors of fall while adding another dessert option that guests will love.
- Apple Slices with Nut Butter: Fresh apple slices drizzled with nut butter provide a healthy contrast to the sweetness of the Oreo pops.
- Caramel Corn: This crunchy treat offers a sweet and salty contrast, keeping things interesting alongside the rich flavors of the pops.
- Fruit Skewers: Colorful fruit skewers not only add freshness but also bring vibrant colors to your Halloween spread, making it more inviting!
Now you’re ready to make and serve these charming Vampire Oreo Pops! Enjoy sharing this delightful treat with friends and family this Halloween season.
Make Ahead and Storage
These Vampire Oreo Pops are not only delightful but also perfect for meal prep! You can easily whip them up ahead of time, making your Halloween celebrations stress-free and fun.
Storing Leftovers
- Place any leftover Vampire Oreo Pops in an airtight container.
- Keep them stored in a cool, dry place at room temperature for up to 3 days.
- Avoid refrigerating as this may cause the chocolate coating to sweat.
Freezing
- Wrap each pop individually in plastic wrap to prevent freezer burn.
- Place them in a freezer-safe bag or container for extra protection.
- These treats can be frozen for up to 1 month—perfect for early Halloween preparations!
Reheating
- There’s no need to reheat these pops; simply enjoy them as they are!
- If they’ve been frozen, allow them to thaw at room temperature for about 15-20 minutes before serving.
FAQs
Here are some common questions that might arise when making Vampire Oreo Pops.
Can I use different colors of candy melts for my Vampire Oreo Pops?
Absolutely! Feel free to get creative with the colors. Lavender, black, or red candy melts can all make your pops just as spooky and fun!
How do I make Vampire Oreo Pops?
Making Vampire Oreo Pops is simple! Just coat Oreos in melted candy melts, attach marshmallows for teeth, and let them set. They’re a quick and easy treat!
How long do Vampire Oreo Pops last?
When stored properly at room temperature, these pops will remain fresh for about 3 days. If frozen, they can last up to a month!
Can I customize the filling of the Oreos for my Vampire Oreo Pops?
Yes! You can use different flavored Oreos or even standard cookies along with a filling of your choice to create unique variations of these treats.
Final Thoughts
I hope you’re as excited as I am about making these charming Vampire Oreo Pops! They’re not only a delightful addition to your Halloween festivities but also an enjoyable activity that everyone can partake in. Remember, it’s all about having fun and getting creative with your decorations. Enjoy every bite and happy haunting!
Vampire Oreo Pops

Create a spooktacular treat this Halloween with Vampire Oreo Pops! These delightful desserts are not only visually captivating but also incredibly easy to make, making them a perfect addition to any Halloween gathering. With their playful design and delicious flavor, they’re sure to be a hit among both kids and adults. In just 15 minutes, you can create these fun treats that can be customized with different colors and decorations, allowing your creativity to shine. Imagine these adorable pops gracing your dessert table, providing a festive touch to your celebrations. Get ready to enjoy the fun of making and sharing these charming Vampire Oreo Pops!
- Prep Time: 15 minutes
- Cook Time: 0 minutes
- Total Time: 15 minutes
- Yield: Makes approximately 12 servings
- Category: Dessert
- Method: No-bake
- Cuisine: American
Ingredients
- Oreos
- Lavender candy melts (or other colors like black or red)
- Mini vegan marshmallows
- Coconut oil (1-2 teaspoons)
- Cupcake liners (red, purple, black, or green)
Instructions
- Melt the candy coating in a microwave-safe bowl by heating it in 30-second intervals until smooth.
- Dip each Oreo into the melted candy using a fork, ensuring it's fully coated. Allow excess candy to drip off before placing on parchment paper.
- While the coating is wet, gently press mini vegan marshmallows onto one side of each Oreo for fangs.
- Let the coated Oreos set at room temperature or chill in the fridge for about 10 minutes before decorating with additional melted candy or edible eyes.
Nutrition
- Serving Size: 1 pop (45g)
- Calories: 190
- Sugar: 22g
- Sodium: 40mg
- Fat: 9g
- Saturated Fat: 5g
- Unsaturated Fat: 4g
- Trans Fat: 0g
- Carbohydrates: 28g
- Fiber: 1g
- Protein: 1g
- Cholesterol: 0mg